
This is Part 3 out of 3 of my Equipment for Professional Songleading blog which is devoted entirely to my wireless microphone and wireless guitar setup.
In Part 1, I introduced the topic and gave some tips that I’ve come up with that are important for any gear like how to save money when purchasing, how to save thousands of minutes each year and how to never forget or lose any of your equipment, at home or at the venue.
In Part 2, I delve into my arsenal of songleading gear, why it works for me, and other important considerations when choosing each piece of gear.
If you have questions, feedback, other recommendations, or a question about your specific needs, please leave a note in the comments section below.
Ok, I get the feeling this is a lot of what people want to know about. I purposefully put this as the last entry because this equipment should probably only be used by what I'll call career level songleaders. This equipment is costly and takes time to learn how to use. Plugging these in will not in and of itself make you a better songleader or performer...it will allow you to be mobile while it amplifies whatever sounds you currently make acoustically on your voice and instrument. If you sound like you need practice, this will only make you sound like you need practice a lot louder from anywhere in the room. Also, this equipment might work to a better or lesser degree depending on your exact PA and room setup. Using this equipment takes practice and time to learn how to setup properly in your space. Then it takes practice and time to learn how to use properly. If set up or used improperly, it can actually get in the way of your performance. So make sure you practice and test everything as much as possible in private before the first time you plan to depend on it.
(Also, before you purchase, make sure to check out the section about saving money on your purchase in Part 1 of this entry. Please also check out the section on batteries in Part 2 to be more environmentally friendly and save even more money.)
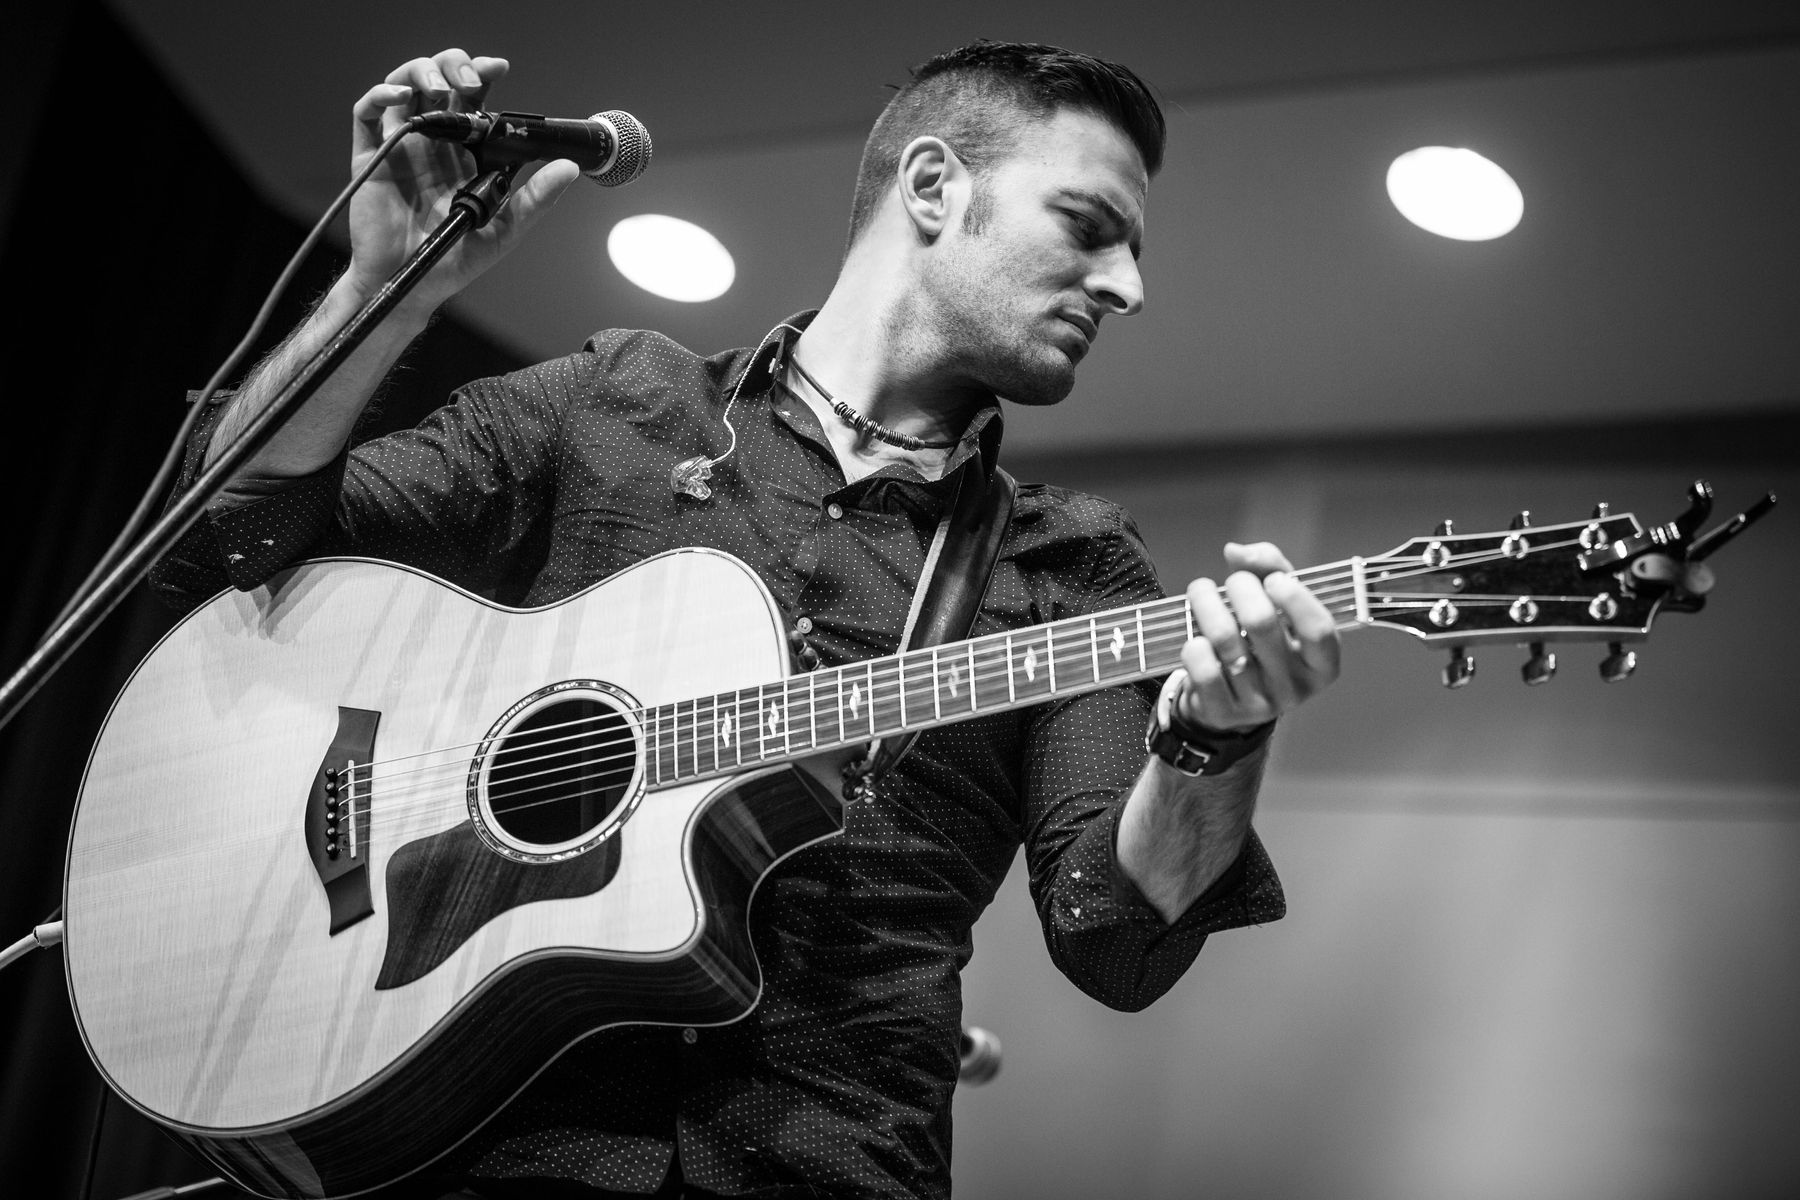
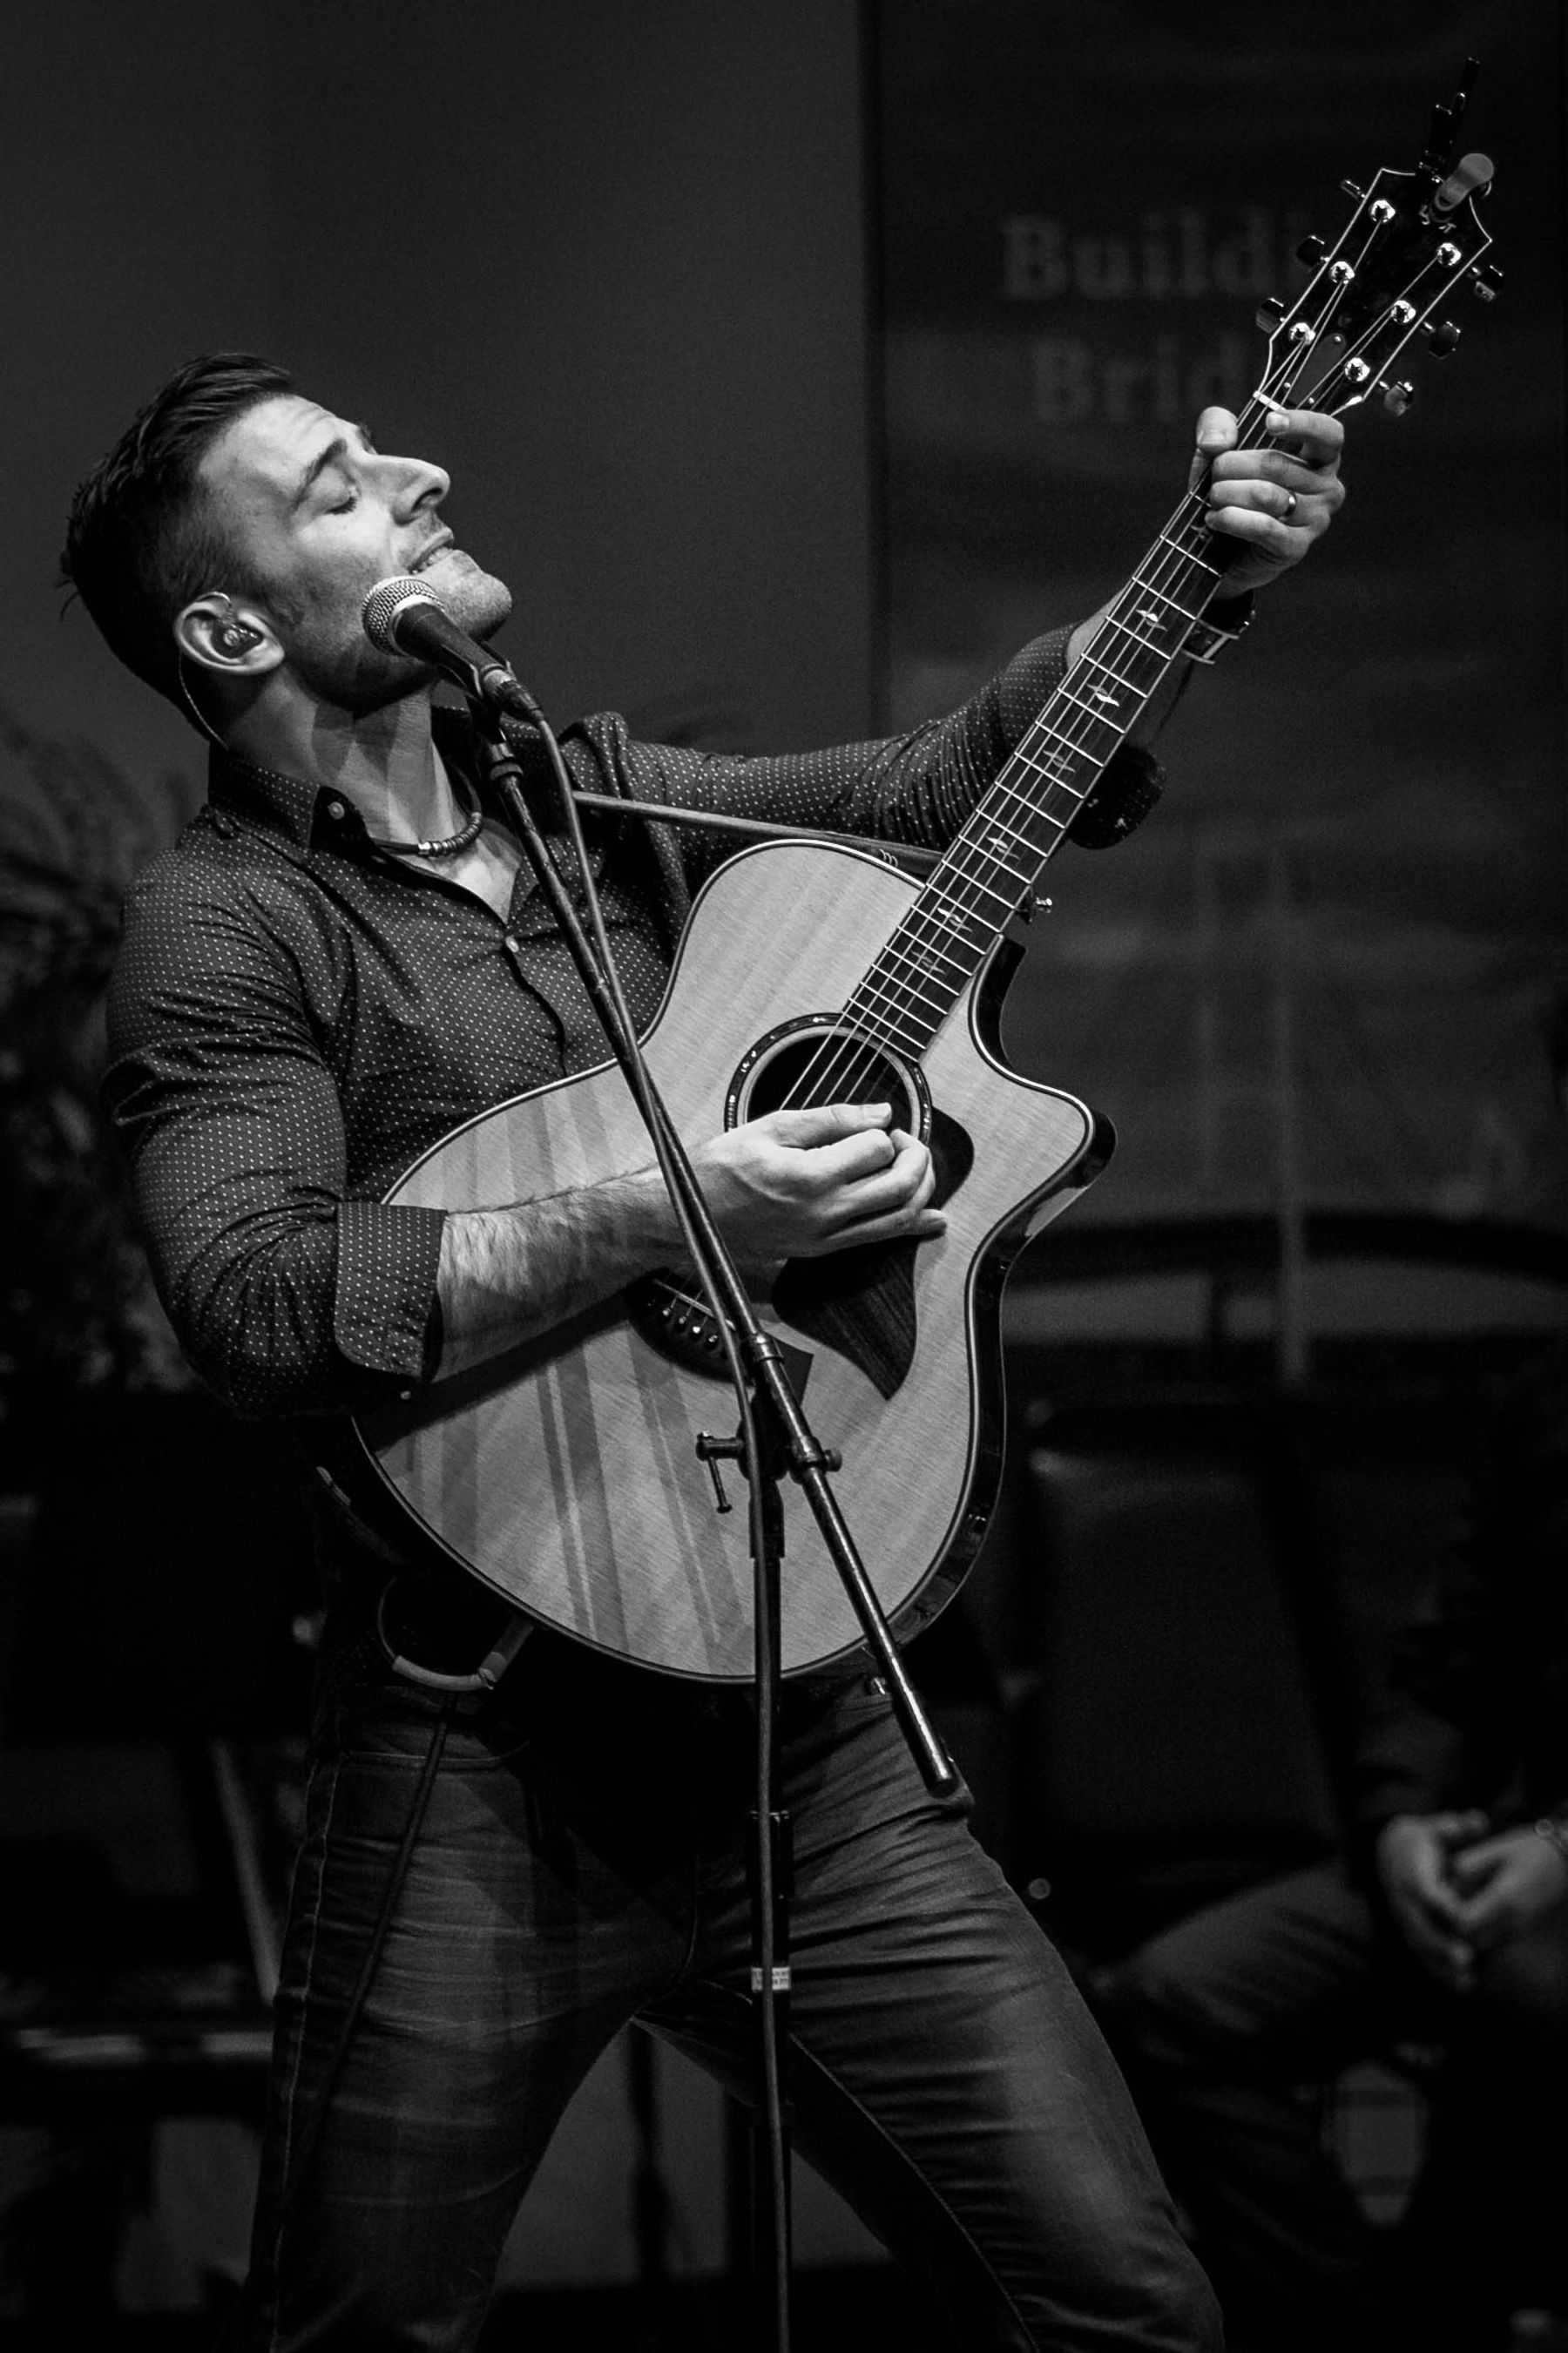
E6 (E6DW6T2SL) cheek mic by Countryman – Ok, this usually gets a lot of attention, whether from clergy who hate the look or feel to other songleaders and musicians who think it looks awesome. The bottom line is, vocal mics pick up the best sound directly in front of your mouth. If aeshetics are really important, you can go for a lavalier (AKA lapel, AKA clip-on) mic but think about when someone with little mic experience holds a handheld mic at their chest. You can’t hear them and if you’re like me it makes you want to jump out of your seat and shout “WE CAN’T HEAR YOU! PUT THE MIC AT YOUR MOUTH!” I mean, why use a microphone at all? Rant over. But seriously, that’s kinda what a lapel mic is. Except it’ll pick up even less if you turn your head away from center and it will pick up the sound of your clothes moving or when you adjust your tallit and drag it over the mic…ok, rant officially now over. There are several options out there for brand or model but I want to point out a couple important options for the e6 which are explained in great detail here on the Countryman website:
I use model E6DW6T2SL and each letter represents an option:
- E6 – This refers to the flexibility of mic ear loop and boom, in other words the part that goes over your ear and sticks out from your ear to the mic. I STRONGLY recommend that you get the E6 (not the E6i or E6x) or a stiff version of whatever brand you purchase. I have been forced to use more flexible and “bendier” versions before which are meant to be more useful if multiple people will be using the mic over it’s life. Bottom line is, they can be so flexible that they fall of your ear just from opening your jaw and singing.
- D – directional. Because I frequently play services or children’s concerts where I stand in front of the speakers, there’s a higher likelihood for feedback (those horribly loud sounds when the mics are amplifying what’s coming out of the speakers and getting re-amplified louder and louder in a vicious loop). The directional option has a narrower pickup pattern which is supposed to reduce this possibility.
- W6 – Sensitivity of the mic. This is the middle option so I can both speak in services and sing loudly at children’s concerts.
- T – Just the color. There’s a few options to help make it as innocuous as possible.
- 2 – Cable diameter. I’ve used both and while the 1 mm is certainly smaller and therefore less visible, I just psychologically feel safer with the 2 mm.
- SL – My initials...but much more importantly, these mics are meant to be used with wireless packs which have smaller proprietary connections depending on the brand. Whereas there are standard cables and connections such as XLR and ¼”, you need to order the right connector here. SL is for Shure since I use the Shure wireless systems. That means they’ll work with any Shure wireless pack, but only Shure. If I wanted to use a different brand in the future, I would need to order a new cable. Thankfully, Countryman allows you to purchase just the cable portion of the e6 which you can easily replace yourself.
*The Countryman E6 is an expensive mic for professionals wanting some of the highest fidelity sound amplification around. It is also somewhat delicate and therefore I would not recommend this mic for camp settings unless you have an extremely competent and responsible songleader who's voice is good enough to merit such an investment.
**Pro tip: When I use my E6, before I connect it to my wireless body pack, I snake the wire under my shirt from the collar down and out the bottom of my shirt. This limits the possibility of the chord getting yanked or caught on anything as I move around. When I'm wearing a button down that's tucked in, I pull the end out of my lowest shirt button which is hidden anyway by my guitar.
Shure PGXD14
A few notes:
- The PGX-D refers to the entry-level digital wireless system from Shure. The 14 refers to what package you purchase, in this case the the wireless guitar package which comes with transmitter (the bodypack), the receiver, power, and a proprietary 1/4" guitar cable that plugs into the body-pack. There are other packages if you want to get a "Madonna" or headworn mic, lavalier mic, or other.
- I purchased the PGX-D years ago and had no problem until a few years ago when I began to encounter interference (sound dropouts) in two specific locations (one in Washington D.C. and one in New York City). Both locations are near hospitals and in dense urban areas, meaning there's a lot of FM interference. I considered upgrading to the Shure QLX-D which has a stronger signal and automatically switches frequencies when interference is detected to avoid those sound dropouts, but ultimately found solutions to those two specific venues. If I had switched to the QLX my suitcase would have been several pounds heavier, and had less space (a big deal when every inch and oz counts!)
- Again there are a lot of options from different brands. Most importantly, if you are considering going wireless, please become familiar with the current FCC allowed FM frequencies as well as what frequencies are most free of interference wherever you will do most of your songleading. Think about the FM radio in your car for a second, which you can tune from about 88-108 MHz on the dial, right? Sometimes, when you’re driving, you start hearing two stations simultaneously. That’s two signals on the same or similar frequency that are competing with each other. The wireless system you choose will operate within a specific range of frequencies and most wireless systems these days have options for which frequency range the system is built to operate in. Do a little research or use this handy tool from Shure to determine which frequency range would work best (ie least interference) in the areas where you’ll be doing most of your songleading. To complicate the matter, occasionally the FCC auctions off some parts of the frequency range for other purposes. For example, as of writing this article, the FCC just re-allocated the 600 MHz band so if you own wireless equipment in that frequency range, it will soon become illegal to use. Imagine you’re a radio station at 108 FM and the FCC just told you that radio can only use 88-100 now…not only do you have to replace your equipment, but all the radio stations are going to be competing for space in a much narrower frequency range. So just be careful when you purchase.
Here are a couple Pros and Cons to this particular setup that I hope you will find useful:
- Pros:
- Extremely small and lightweight which is important since every inch and ounce matters for me.
- Automatically scans for the clearest available channel
- 1 touch sync between transmitter and receiver, making for very fast setup
- Digital technology means clean sound and less susceptible to interference
- Cons:
- Signal not strong enough to overcome interference in areas of dense FM frequency areas (downtown cities, near hospitals)
- Had to replace power chords on both due to thin power cable
- No automatic channel switching
- Like all body-packs, these need something to clasp onto. Men's clothing usually doesn't make this a problem, but I work with many women whose clothing often lack pockets or other locations such as a belt to clip the body-pack onto.
*Pro tip: Keep the receiver as close to the body-pack as possible and with the most direct line of sight. Usually that means placing the receiver as high as possible so that no people or furniture get between the body-pack transmitter and the receiver.
Well, I think that's about it. Hope this is useful to you and if you have anything to say at all about this topic, you know what to do! (Leave a comment below!)